
Meet Ollie Owl!
- Jan 28, 2017
- 4 min read
Hey, all! Here's the first puppet post! I’m still looking for a good way to make a pattern for the puppets. Once I figure that out, I will post them. I did, however, want to show you how I have made them myself. I haven’t gone off of any particular pattern. I just kind of made them up. I usually search the animal in Google images and use that as a reference. Many times, I will look up the animal with the word “puppet” or “stuffed animal” before it to see how others have done it. In this post, I’ll show you my method for making the puppet, and you can start experimenting with that. Please don’t be intimidated by the lack of a pattern. It takes a little bit of practice, but you will find it is much easier than it seems. You are more creative than you think! I’ve loved having these puppets! The kids love having a new puppet friend every week. I’ve found that it is a good way to keep the class momentum going.
Anyway, here is basically how I make them:
Materials:
I have made most of my puppets out of felt. I’ve tried the craft foam for them, which works pretty well, but I prefer the felt. Felt puppets are softer and are easier for me to move my hand with. For this puppet, you will need:

· Felt (light brown, dark brown, yellow, white, orange, black)
· A pen
· Scissors
· Craft glue (Fabritac)
Make sure your puppet base is handy, so that you can check the size.
We will do a lot of tracing and folding of the felt so that we can make sure the puppet is symmetrical. That’s a little pet peeve of mine, so I’m fairly picky about it. Even so, remember that the kids will still love it even if it’s a little wonky.

Start with the light brown overlaying the puppet base. Trace the head of the base like you see in the picture. Don’t worry about the lines. This will be the back of the puppet. Add an “ear” (yes, I know they are representing feathers, but I’m still going to call it an ear) on the top of one side, and a cheek on the bottom of that same side. Mark the middle of the head of the puppet base.

Fold the light brown felt along the middle of the face.

Cut both sides of the felt. When you are done, you should have a pretty symmetrical face.

Place the owl face on top of the dark brown felt. Make sure at least both ears down to where the beak should be fit on the piece.

Trace from the top of one ear to the other. Remove the light brown face. Draw whatever design you would like down one side on the dark brown. I did a pretty simple thing. This is just to add a bit of color and definition to your owl.

Fold the dark brown down the middle of your design.

Cut along the line you have drawn.

Fit the dark brown to the light brown and trim it if need be.

Keep the dark brown on top of the light brown. Place the white felt over both. Trace the inside curve of the dark brown to give yourself a reference. Draw a cloud pattern down one side. Make sure it fits inside the light brown part of the face.

Fold the white felt in half and cut along the line you have drawn.
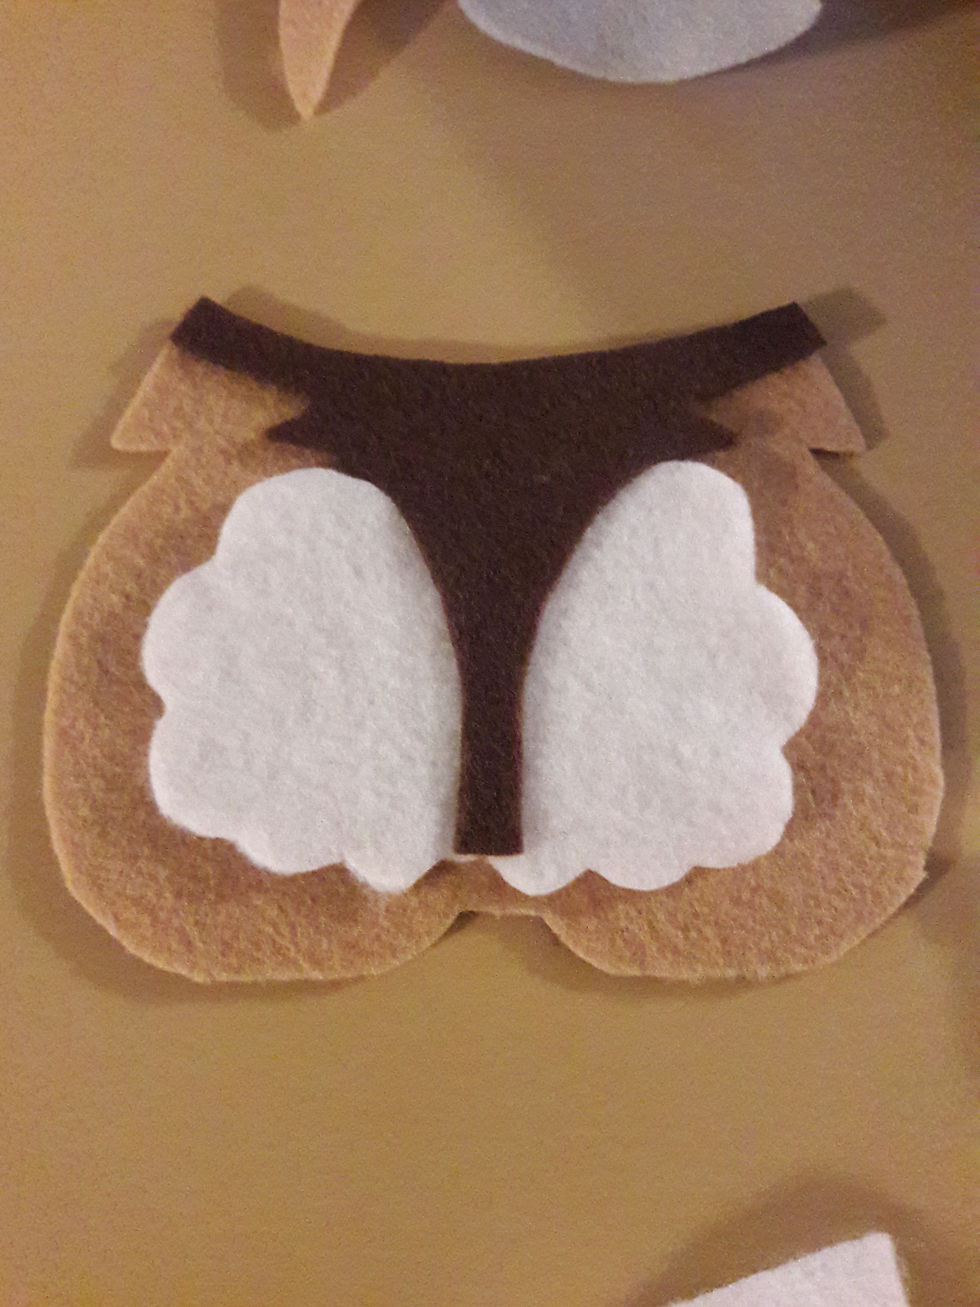
Fit the white in between the dark and light brown as shown.

Take a quarter, nickel , or dime (depending on the size of your puppet), and draw a circle on the yellow felt. Fold the yellow in half and cut out the circle. You should end up with 2 yellow circles. These will be your owl’s eyes.
Fold the black in half, and cut out a smaller circle. I usually eyeball this, but you are welcome to trace or draw the circle beforehand.

Take the orange and cut out one small teardrop shape for the top beak. Also out of the orange, cut a relatively small triangle. I just put the orange behind the face with one of the corners sticking out of the bottom where the beak should go. Then I cut off the corner with plenty of room to allow for gluing. Cut a similar triangle out of the black.

Turn over all of the pieces so you can’t see the pen lines, and use the glue to put it together. Allow time for drying.
On the back, glue the Velcro spots so that they will line up with the spots on the puppet base.
Now Ollie Owl is ready!
Enjoy the company as you teach! The kids also love to play with these puppets. If you make a couple bases, then the kids can play with each other. I hope you enjoyed this one. I also hope you take this, experiment on it! Make it your own! Remember, ideas are just seeds. If you take the time to plant it, it will grow into something amazing!


Comments